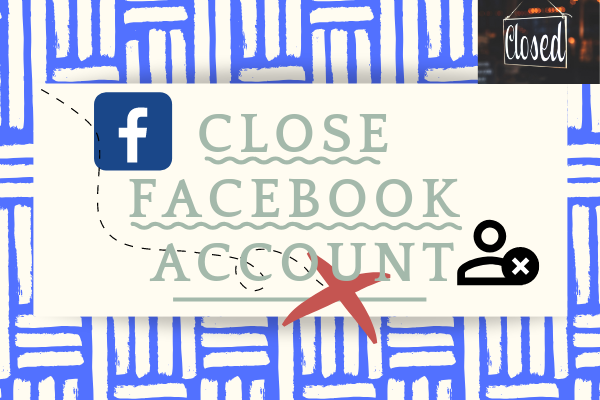
How to Close An Account In Facebook New Updated 2019
Yet before continuing additional bear in mind that as soon as you remove Facebook Account all the info related to it, like the pictures you shared, your friend list, the message you sent, etc. will be completely removed as well as can not be gotten. Consequently, ensure that you have conserved everything that you could need in the future. To save the data do comply with these basic steps:
paragraf ke 2
How to Backup Facebook Data?
1. Open up the Facebook account whose information you want to back up.
2. Click the downward dealing with arrow at the right of the alert panel.
3. A drop-down checklist will show up. From amongst the list click on Settings.
4. You will now get to the setups page. At the end of the page click on Download a copy of your Facebook data.
5. This will certainly lead you to an archive page which informs you concerning the things that are consisted of in downloaded data. Now click Start my Archive.
6. A sub-window requesting for your password will show up. Get in the password carefully to confirm that it is you who is about to download Facebook data.
7. After that click on Start my Archive option in the sub-window that shows up.
8. Finally, Facebook will certainly show you the email id in which it will certainly email you the downloaded duplicate of your data.
It will take a little time depending upon the amount of data on your Facebook. When you obtain an e-mail to download it and save it in your trusted place after that, you might proceed to below-mentioned actions to erase Facebook Account.
How to Delete Facebook Account Permanently?
1. Normally, Facebook has actually made it challenging to find the account removal page. For your comfort, we have supplied you the web link that will directly lead you to the Facebook Account deletion page. Just click this web link "Facebook account deletion page".
2. Before you continue even more, you have to visit to a Facebook account. Visit the Facebook with the username you wish to delete. Nevertheless, if you open the above-provided link in the very same internet web browser, in which you are already logging in to Facebook Account that you want to delete you will straight get to the verification web page.

3. A verification page will appear as soon as you login Facebook.
4. Click "Delete My Account" choice and also adhere to the actions you are asked to, as well as you will be out of Facebook completely

Sometimes erasing the Facebook Account permanently is not what you desire. You may simply have wanted a little break from Facebook. As it has actually become one of the essential parts of today's day to day life as well as individuals have begun feeling unsocial if they stop making use of Facebook. If you intend to quit using social networking websites for time what you can do is Shut down Facebook Account. By doing this, you will not lose the stuff on your Facebook Account. Right here is the clear guidance on how to Deactivate your Facebook Account.
How to Deactivate Facebook Account?
1. To start with login to the Facebook account that you want to deactivate in any web web browser you choose.
2. In the Facebook page click on the downward arrowhead symbol on top right corner of the page. Afterwards click on setting from the drop-down menu. For the quick link click on Facebook Account settings.

3. In the settings page click on the General tab in the left panel. After you click on the General tab, you will see all the General Account food selection as can be seen in the picture below. From amongst them click on Manage Account alternative.

4. As you click on Manage Account alternative, the tab will expand. Currently scroll down the web page and click "Deactivate your Account"?

5. After you click "Deactivate your account" a confirmation, a home window will certainly appear so that no any unauthorized person can deactivate your account without your approval. You need to get in the correct password to proceed further.? As you enter the appropriate password, you will see the deactivation page.

6. Now Facebook will certainly ask you the reason for deactivating your account. You won't be able to continue further till you picked a minimum of one of the alternative. Afterwards, if you do not want to receive emails from Facebook on deactivation period, inspect 'em trouble opt-out' alternative.

7. Your Facebook account will shut off as soon as you click the "Deactivate" option.
Later, if you intend to go back to the Facebook account, just login Facebook with the same username and password as well as your account will certainly reactivate. You will not lose any data and info related to Facebook you shut down previously.